On the hunt for Disneyland Outfits? This DIY Minnie Mouse Sweatshirt is a super easy Cricut Tutorial.
Products for this project were provided by Cricut.
Ok, now here's the deal. I AM NOT CRAFTY. I want to be. But it is not my gift. So when I attended a fun pop up event here in LA that Cricut was throwing….I'm not gonna lie, I was apprehensive. They even sent me my very own Cricut Explore Air 2 cutting machine to try out. But still….I wasn't sure. Well at the pop up? I got to see a couple demonstrations of simple Cricut projects and I was BLOWN AWAY. I could actually DO THAT. So I came home, and I started practicing. And crafting…..who was I?
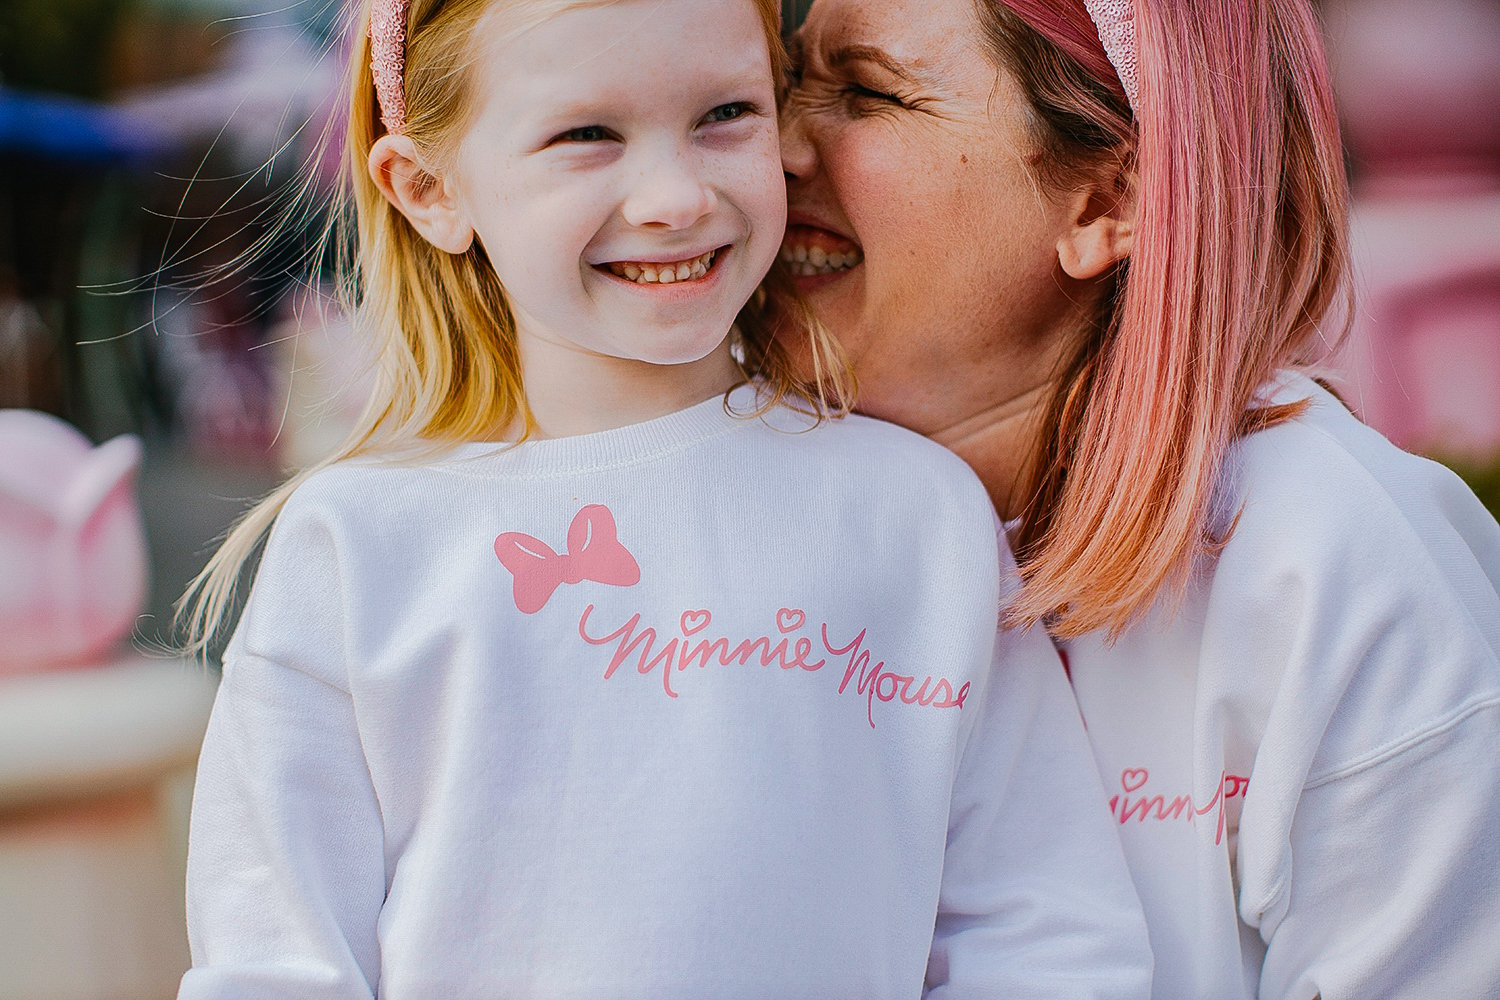
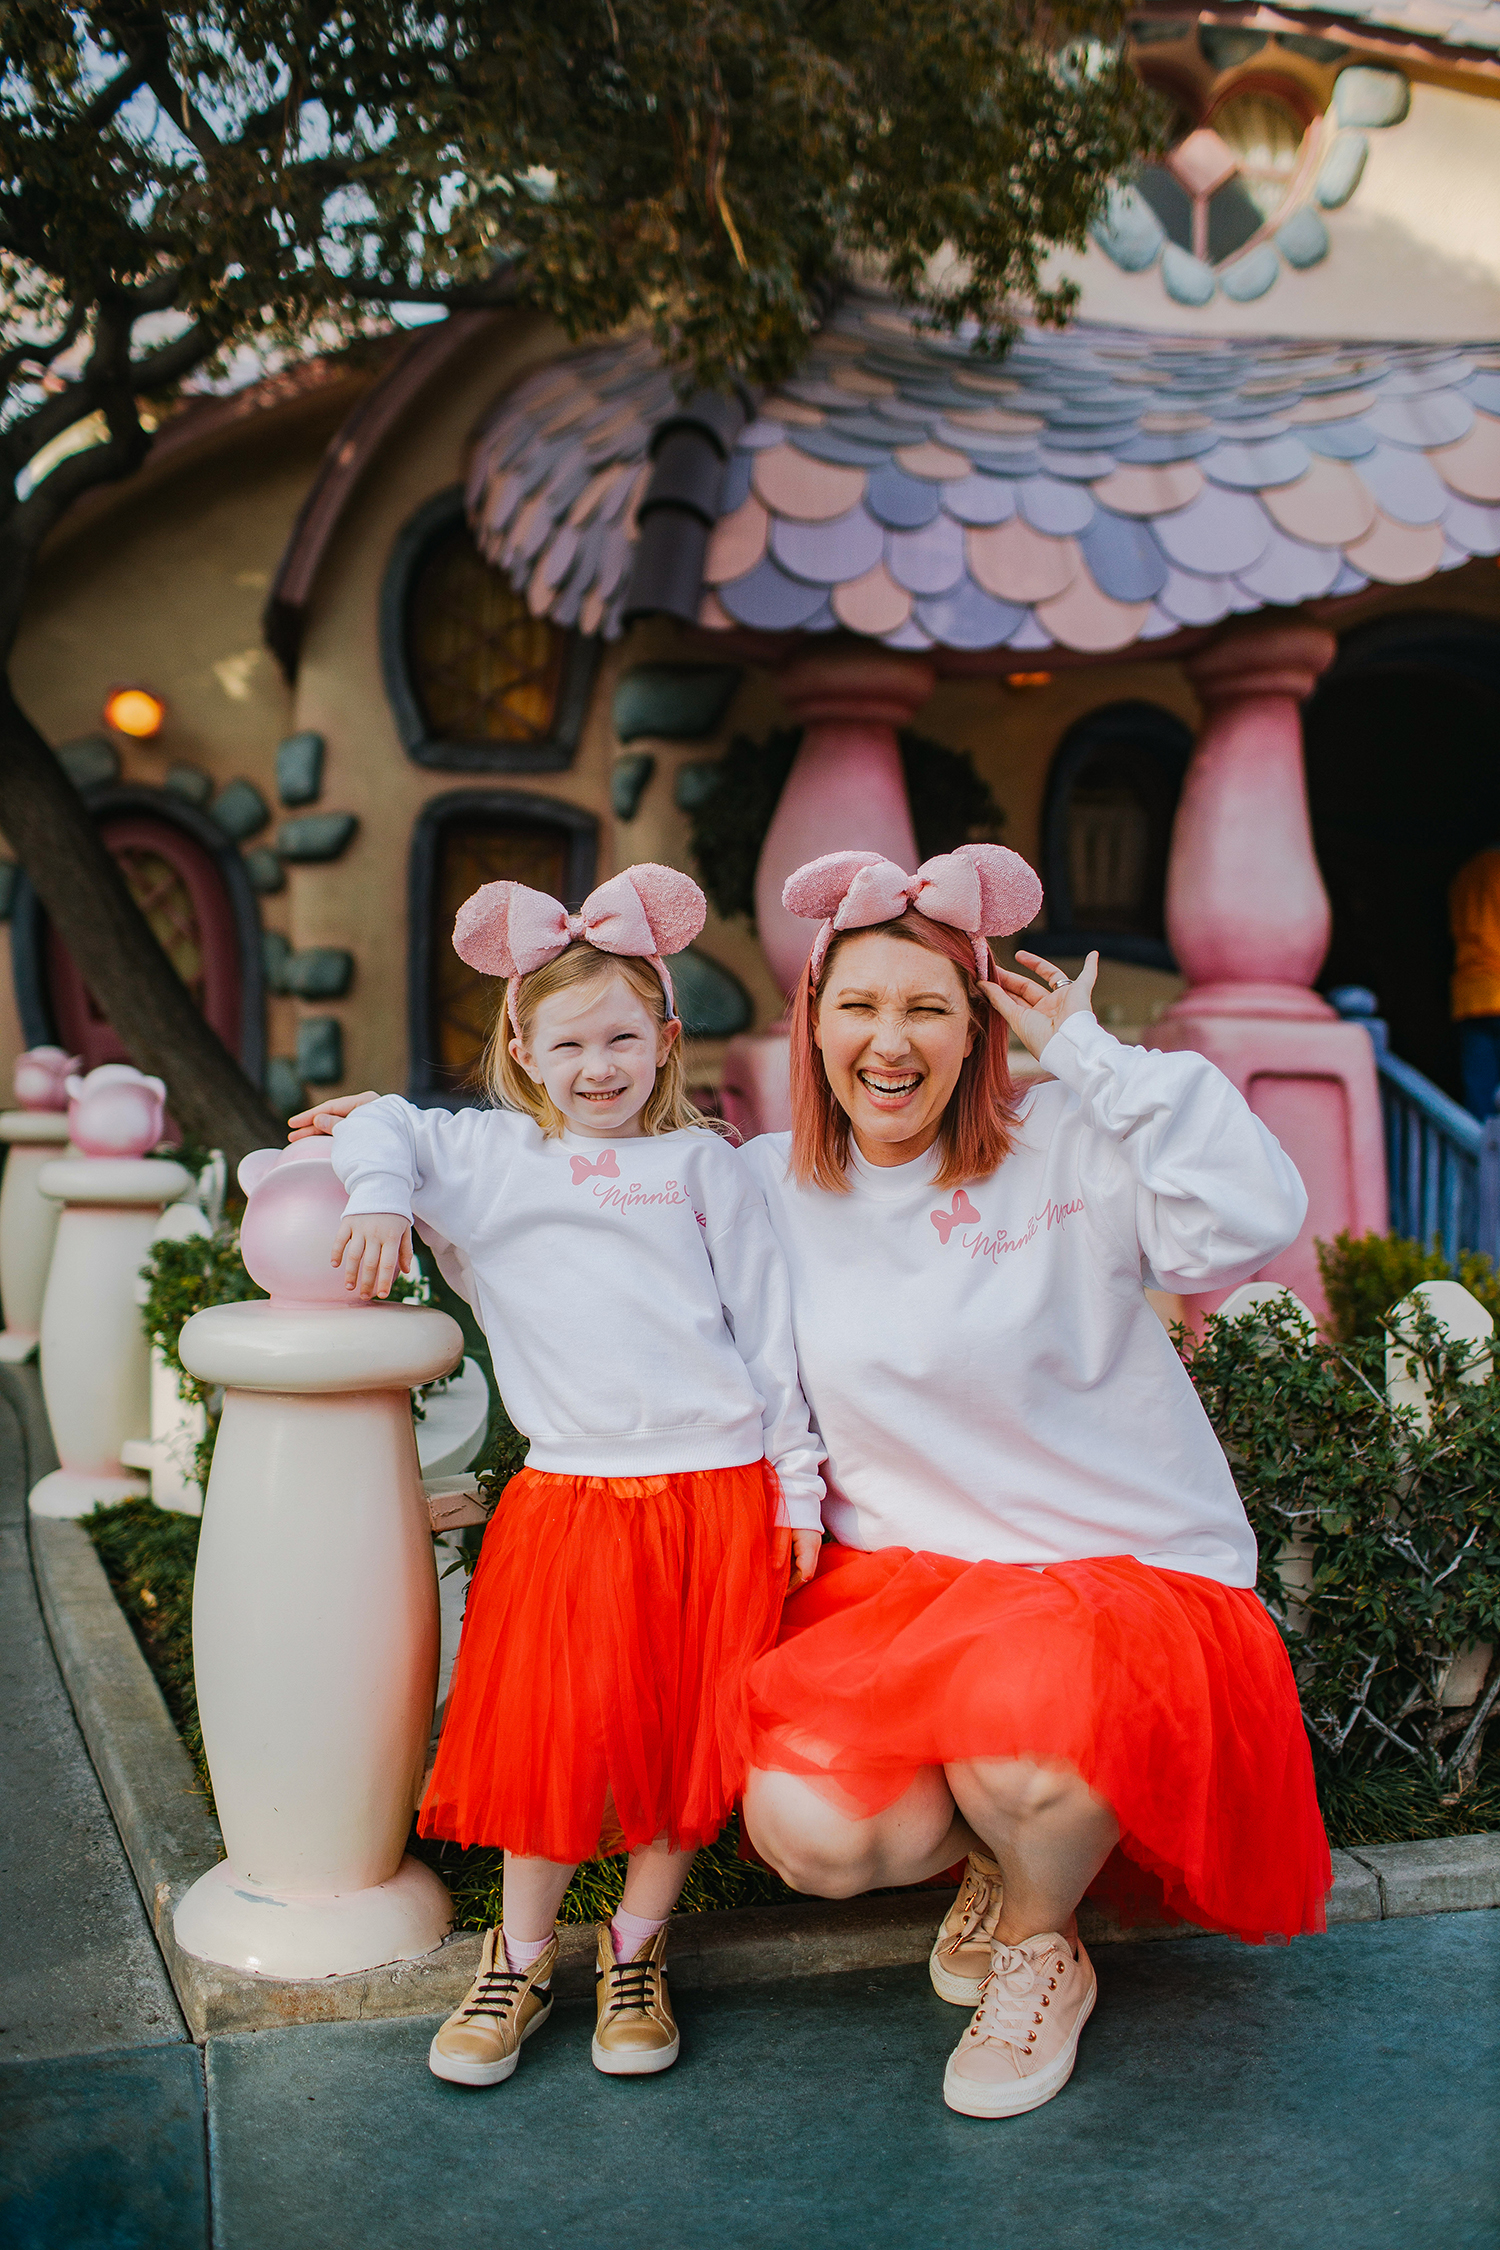
Now, we all know I love my Disneyland Outfits. And Cricut? They're a licensed Disney partner. They have some amazing Disney design elements in their library (and more that you can purchase for an additional fee). So I decided it was time to try my own Cricut Tutorial. Our DIY Minnie Mouse Sweatshirts. And I'm embarrassingly proud of how well they turned out.
Disneyland Outfits: Cricut DIY Minnie Mouse Sweatshirt
Since we were heading to Toontown to take pictures a few days after my crafting session…..I decided to make sweatshirts inspired by our favorite girl, Minnie Mouse. Her adorable house is the perfect spot to take girly fun pictures, and I knew Lydia would flip over anything pink. The best part? These Minnie Mouse Sweatshirts are simple enough to wear outside the parks, but themed enough to wear in them. I always suggest packing a sweatshirt for cooler evenings, and fair warning, this one will be in regular rotation for all of our Disney trips.
Materials Needed:
Cricut Explore Air 2: I'm obsessed with how easily and perfectly the Explore Air can cut materials including paper, vinyl, iron on material (that's what we'll be using), cardstock, and cork
Iron On (pink): Since we're making sweatshirts, Iron On material is a requirement.
Cricut EasyPress: The Easy Press made ALL the difference for these Minnie Mouse Sweatshirts. Yes, you can use an iron. But it's not going to be as even. The press has adjustable, evenly distributed heat. It takes the guesswork out of the ironing on and makes everything look a little more professional.
Essential Tool Kit: This tool kit had all the pieces I needed to weed my design. Weeding? Removing the little pieces that had been cut but needed to be taken out (aka the center of Minnie's bow).
Sweatshirts: We used super simple white cotton sweatshirts. They were a great price, and worked out perfectly.
Directions:
- In the Cricut Design Space, select our design to grab the template I created. This will open to the exact bow and Minnie Mouse signature that we used and you can see the whole thing in a perfect pink shade.
- You can change the size of each design element if you want to adjust for a kids' shirt or a smaller option.
- Before you move on to the cutting, be SURE to switch the mirror option to ON. This makes the design print backwards so that when you transfer it to the fabric, it will be right side up. Trust me, this is an important do not miss it step!
- Attach your iron on to the cutting mat, and load with the shiny side down.
- Print out, and remove extra material. Use your tools to weed, or remove the extra pieces in between parts of the letters or design.
- Set your EasyPress to the correct temperature (you can use the heat settings designated in the heat guide) and set up your sweatshirts. I used an EasyPress Mat which helped a ton and set it all up on our dining room table (it felt like the right height to me).
- Prep your sweatshirt by heating for about 10 seconds, then place the design in your desired location. Apply the EasyPress, set the timer, and remove when it goes off. Afterwards, turn the sweatshirt over, and press the back for about 10-15 seconds. Remove the clear liner.
And there you have it. An easy Cricut Tutorial and the PERFECT Disneyland outfits. A Mommy and me Minnie Mouse Sweatshirt design that is cute enough to wear anywhere.






These are adorable! I totally need to get a cricut machine to make cute things like this!
Paige
http://thehappyflammily.com