Looking for a fun and easy at home craft project? These DIY Rainbow Crayons were a ton of fun to make, and look ADORABLE! 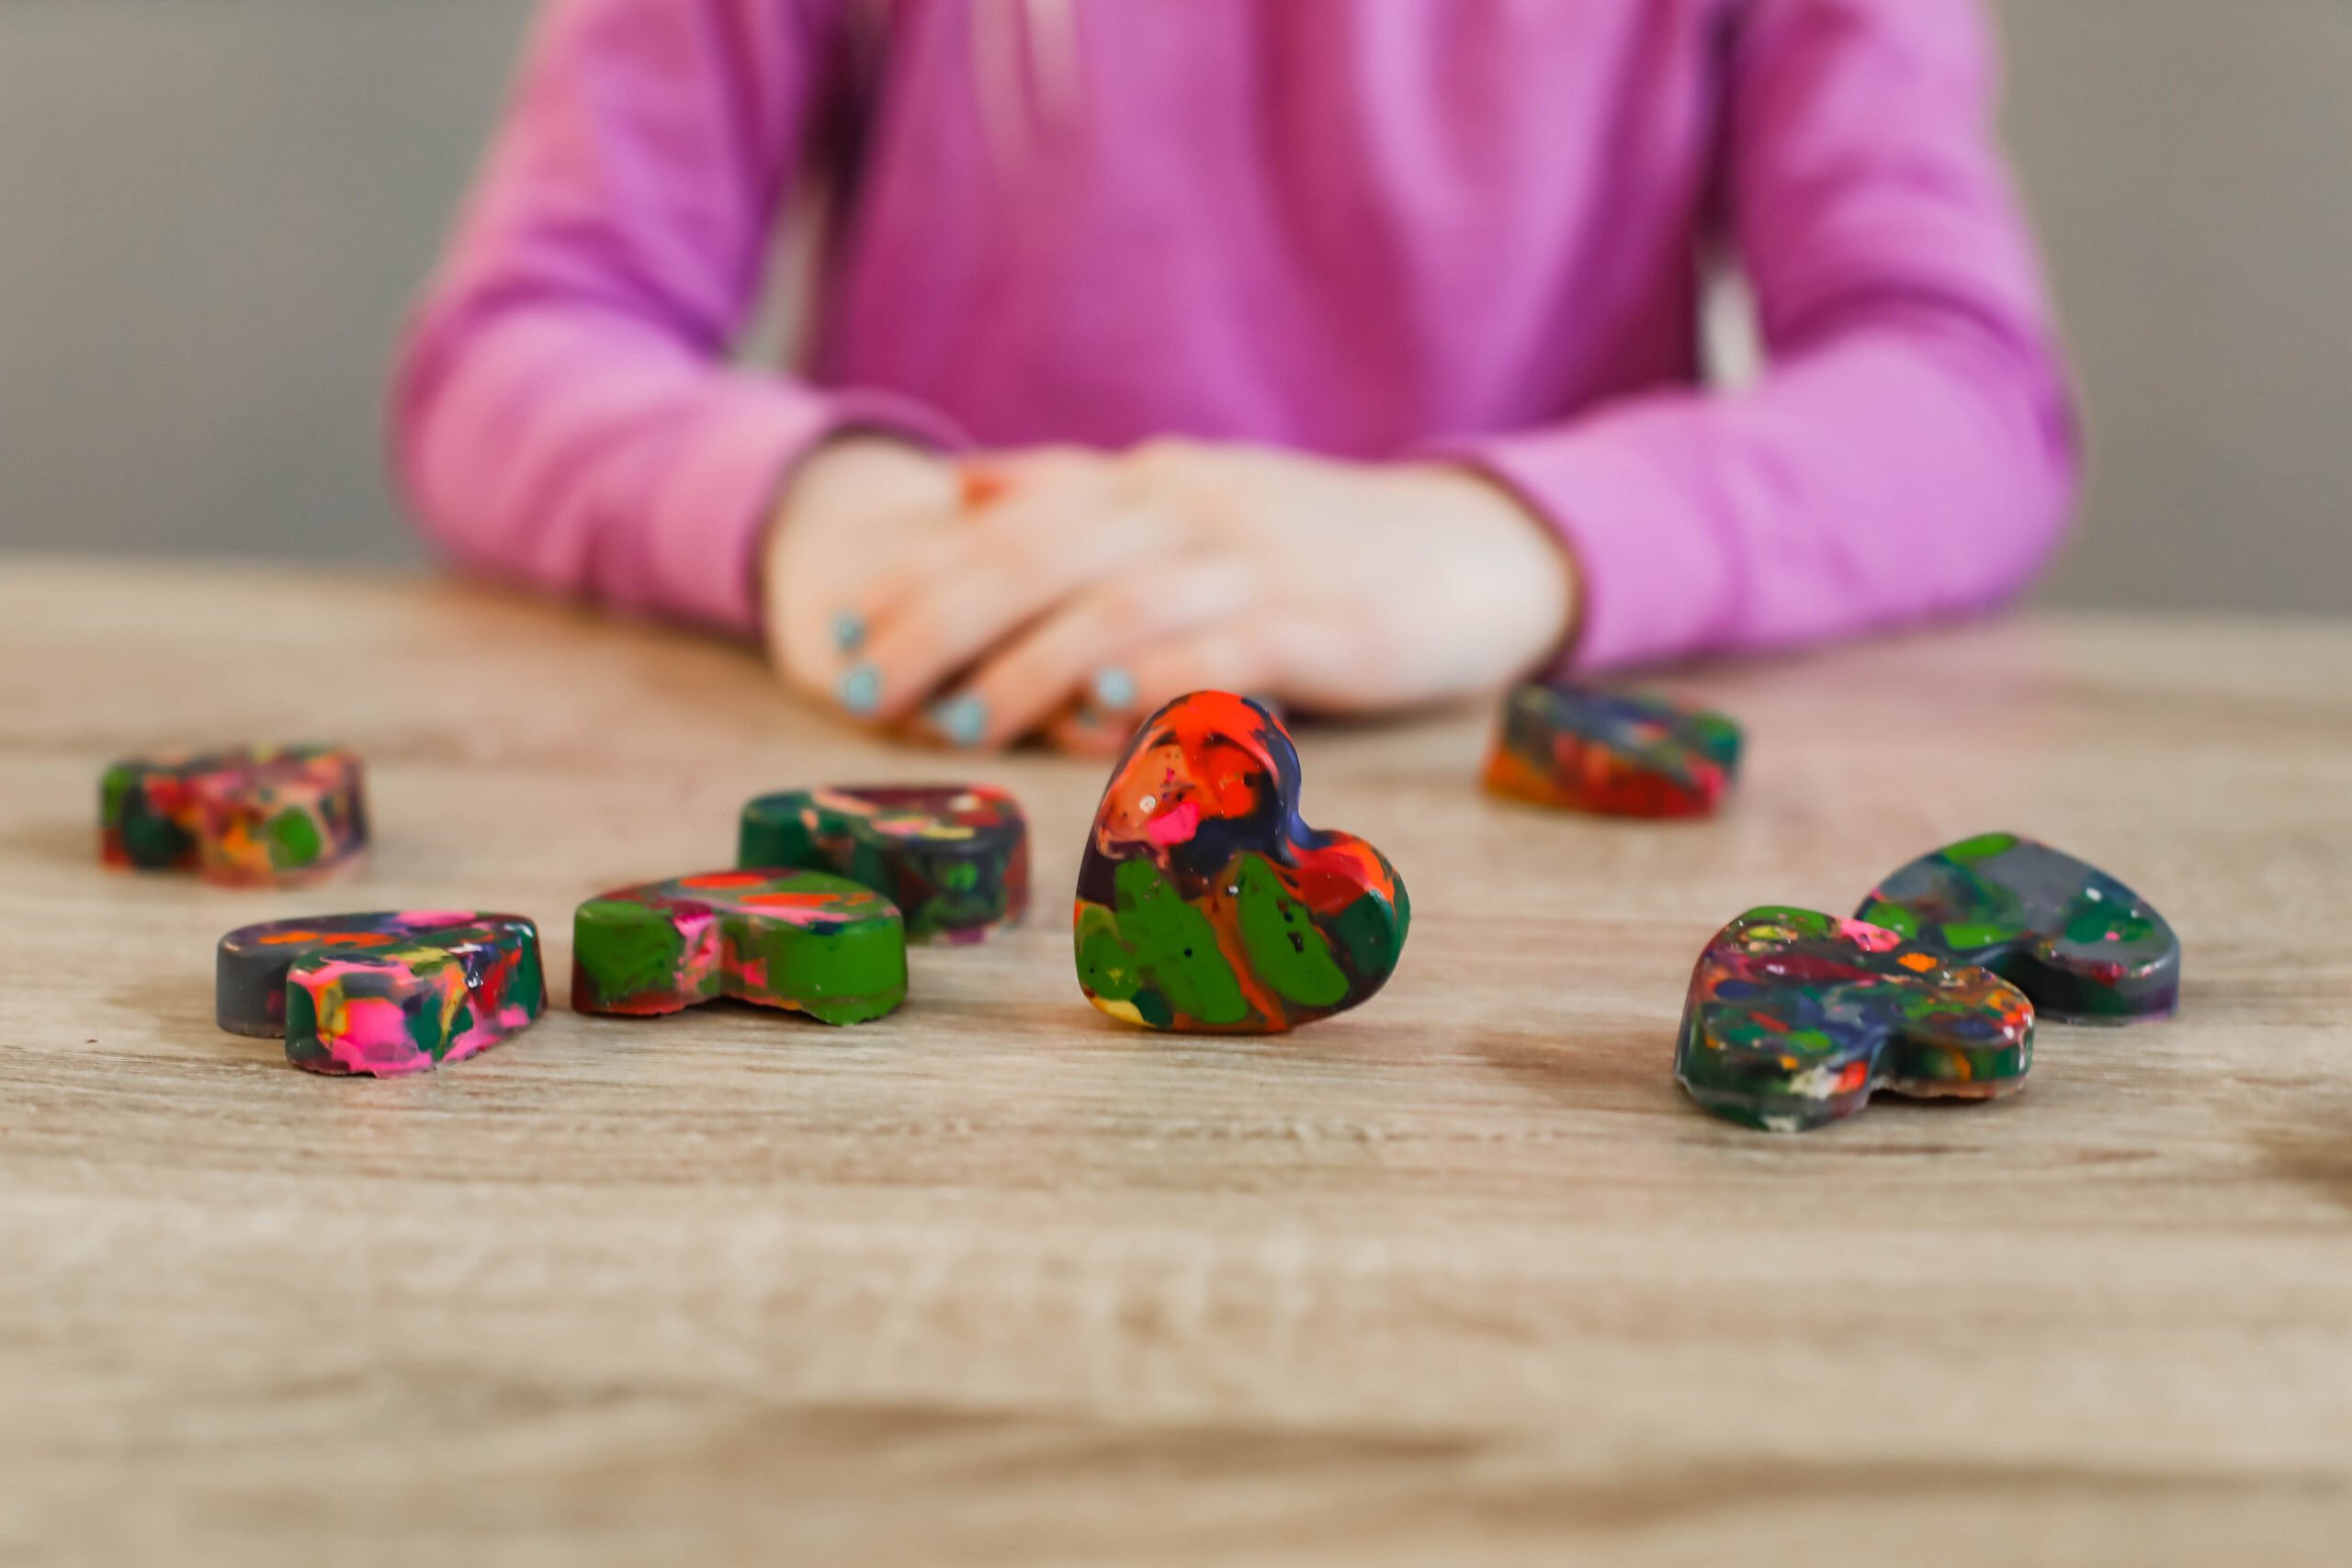 Here we are. At home and looking for projects to do with our kids. This rainbow crayons project is SUPER easy, and actually something I used to make for my students when I was teaching (side note it was a really fun way to practice tracing sight words).
This is perfect for doing with younger kids because, frankly it’s hard to mess up. Crayons melt and mold to whatever shape you’ve decided on. And TRUST me, there’s not a wrong way to break crayons (I do have some suggestions for the most fun ways.
We made these as a fun Valentine’s Day Craft to deliver to our neighbors. They would be a great way to make your own Valentine’s Day Class cards or gifts for a holiday in a shape that’s fitting (we have made them in a star shape for New Year’s Eve or you could do a theme shape for a birthday, we did mermaid tails for the mermaid themed party we did with Lydia’s Michael’s Birthday Party).
DIY Rainbow Crayons: How to Melt Crayons
So, the steps to make make rainbow crayons. If you’re looking for tips on how to melt crayons, this is ALL you need. All in all from start to completed and cooled off rainbow crayons……this took about an hour to an hour and a half (including baking and at least thirty minutes of cooling time).
Materials:
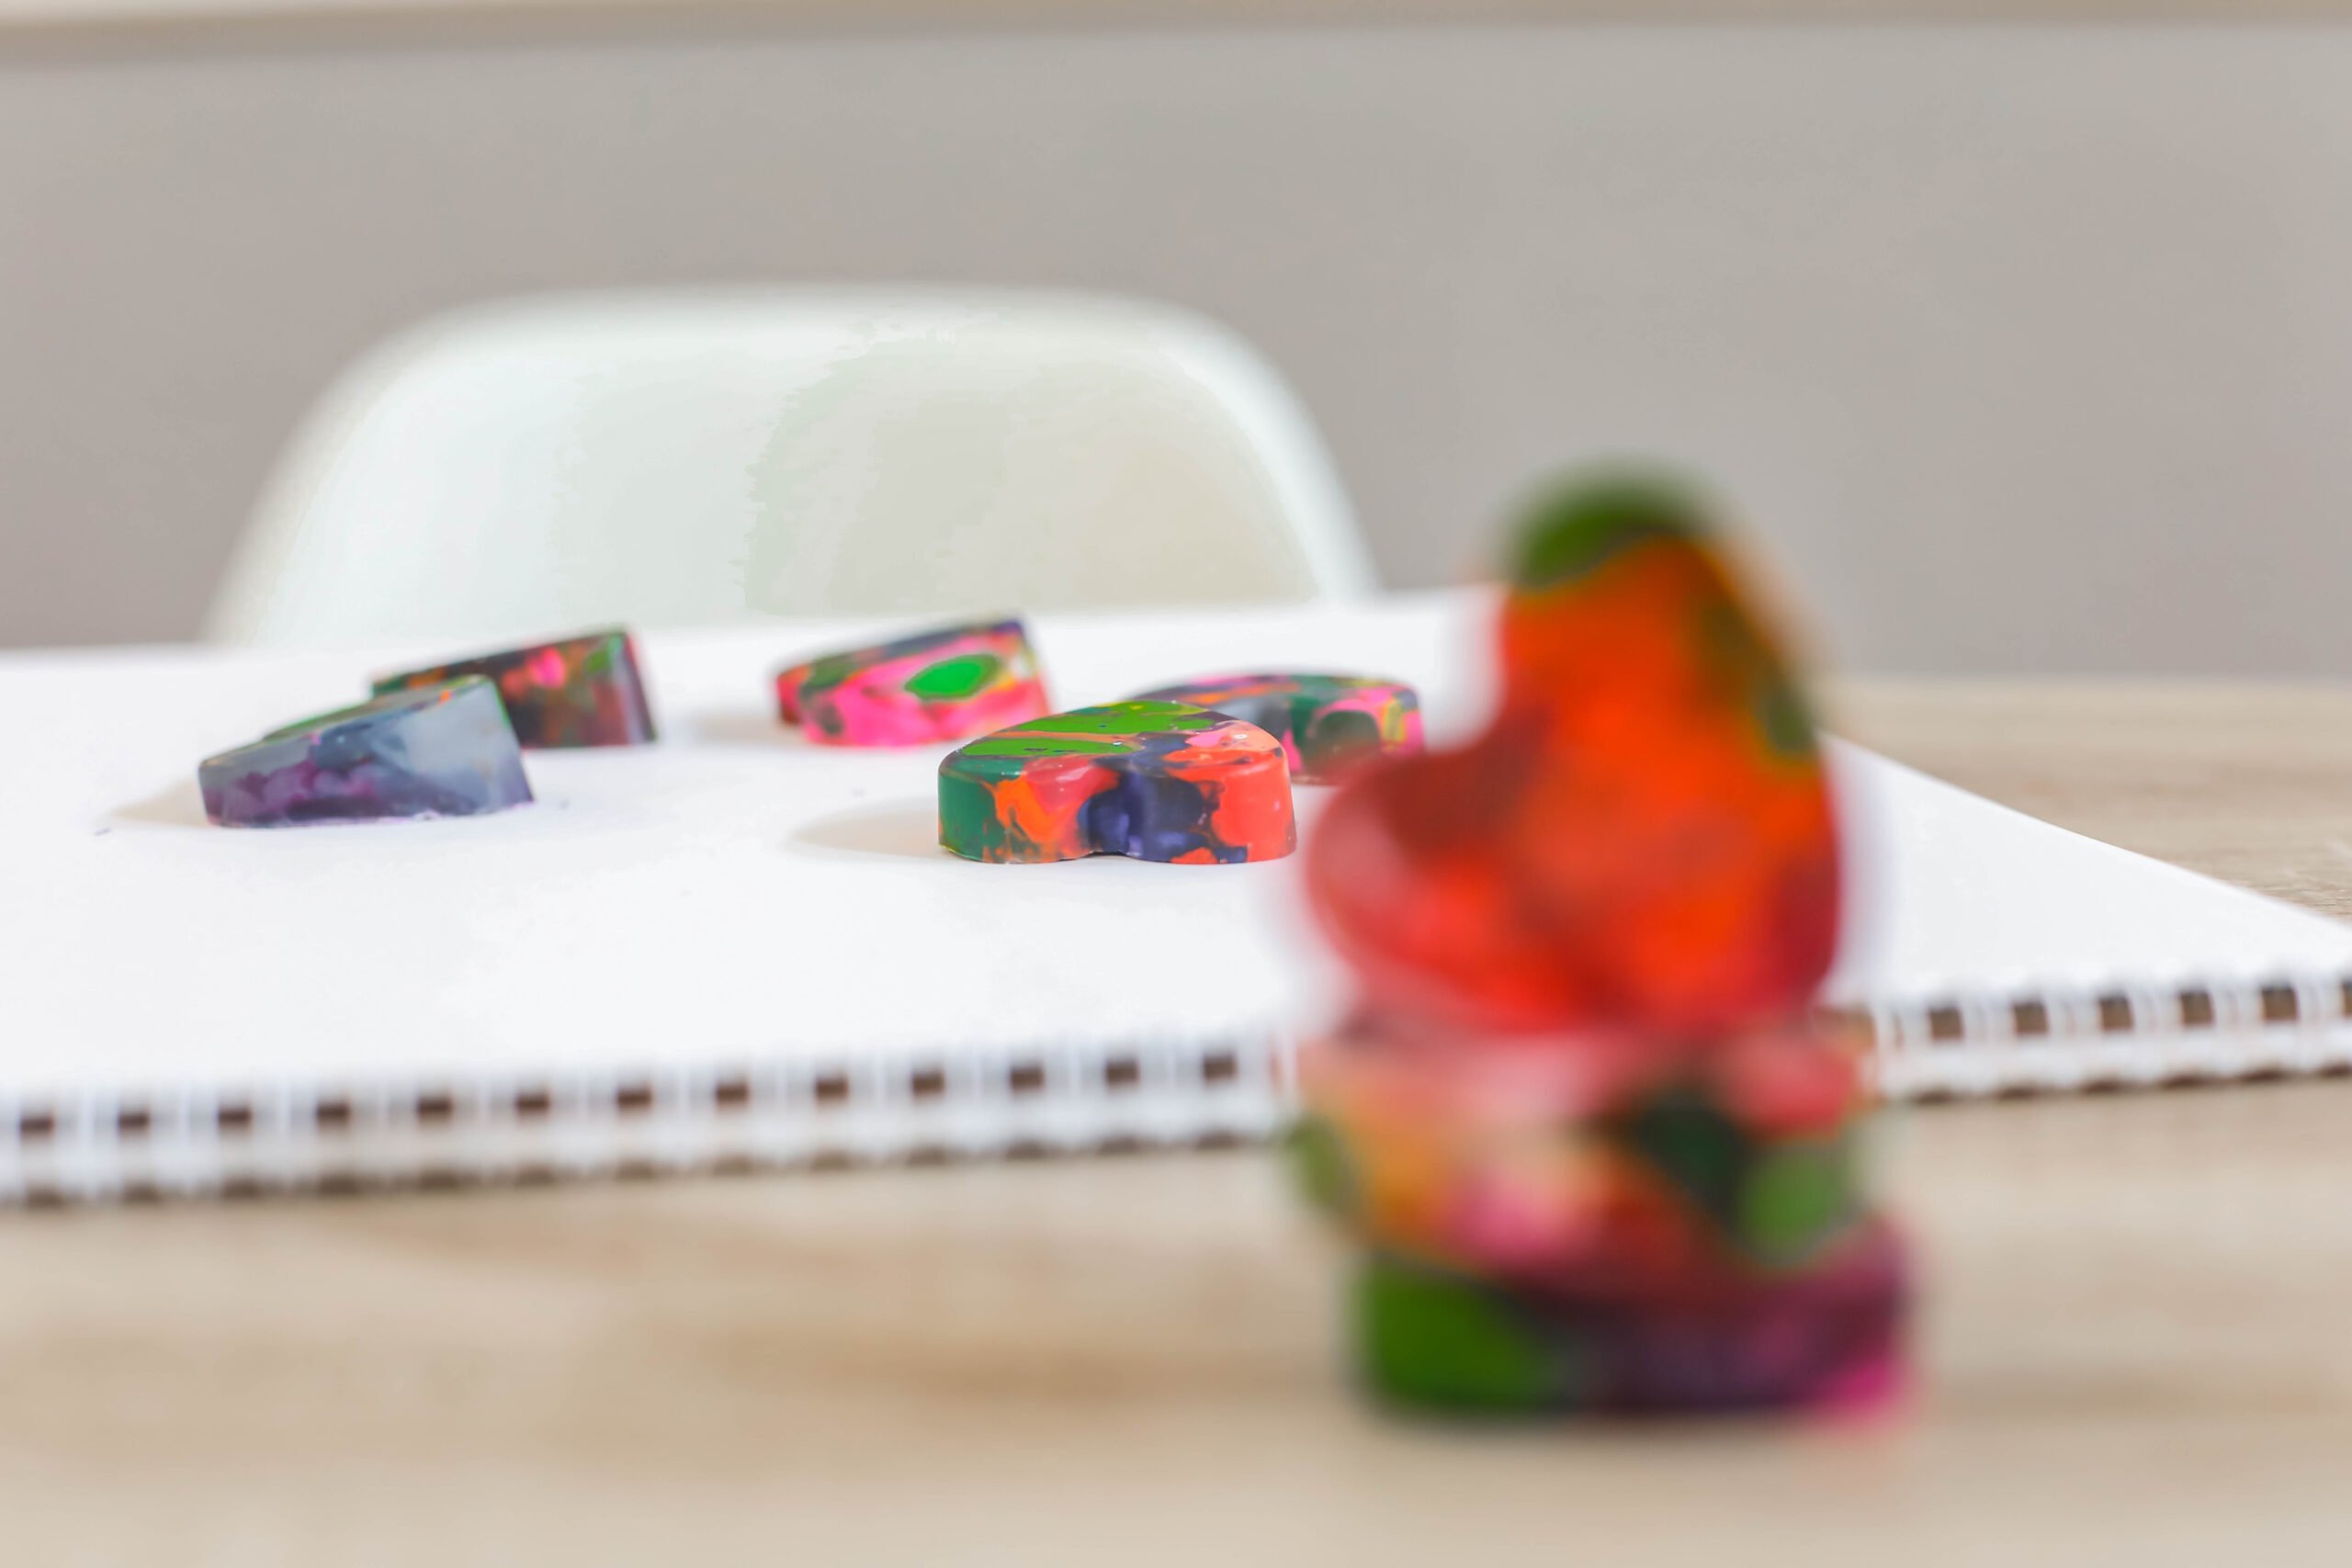
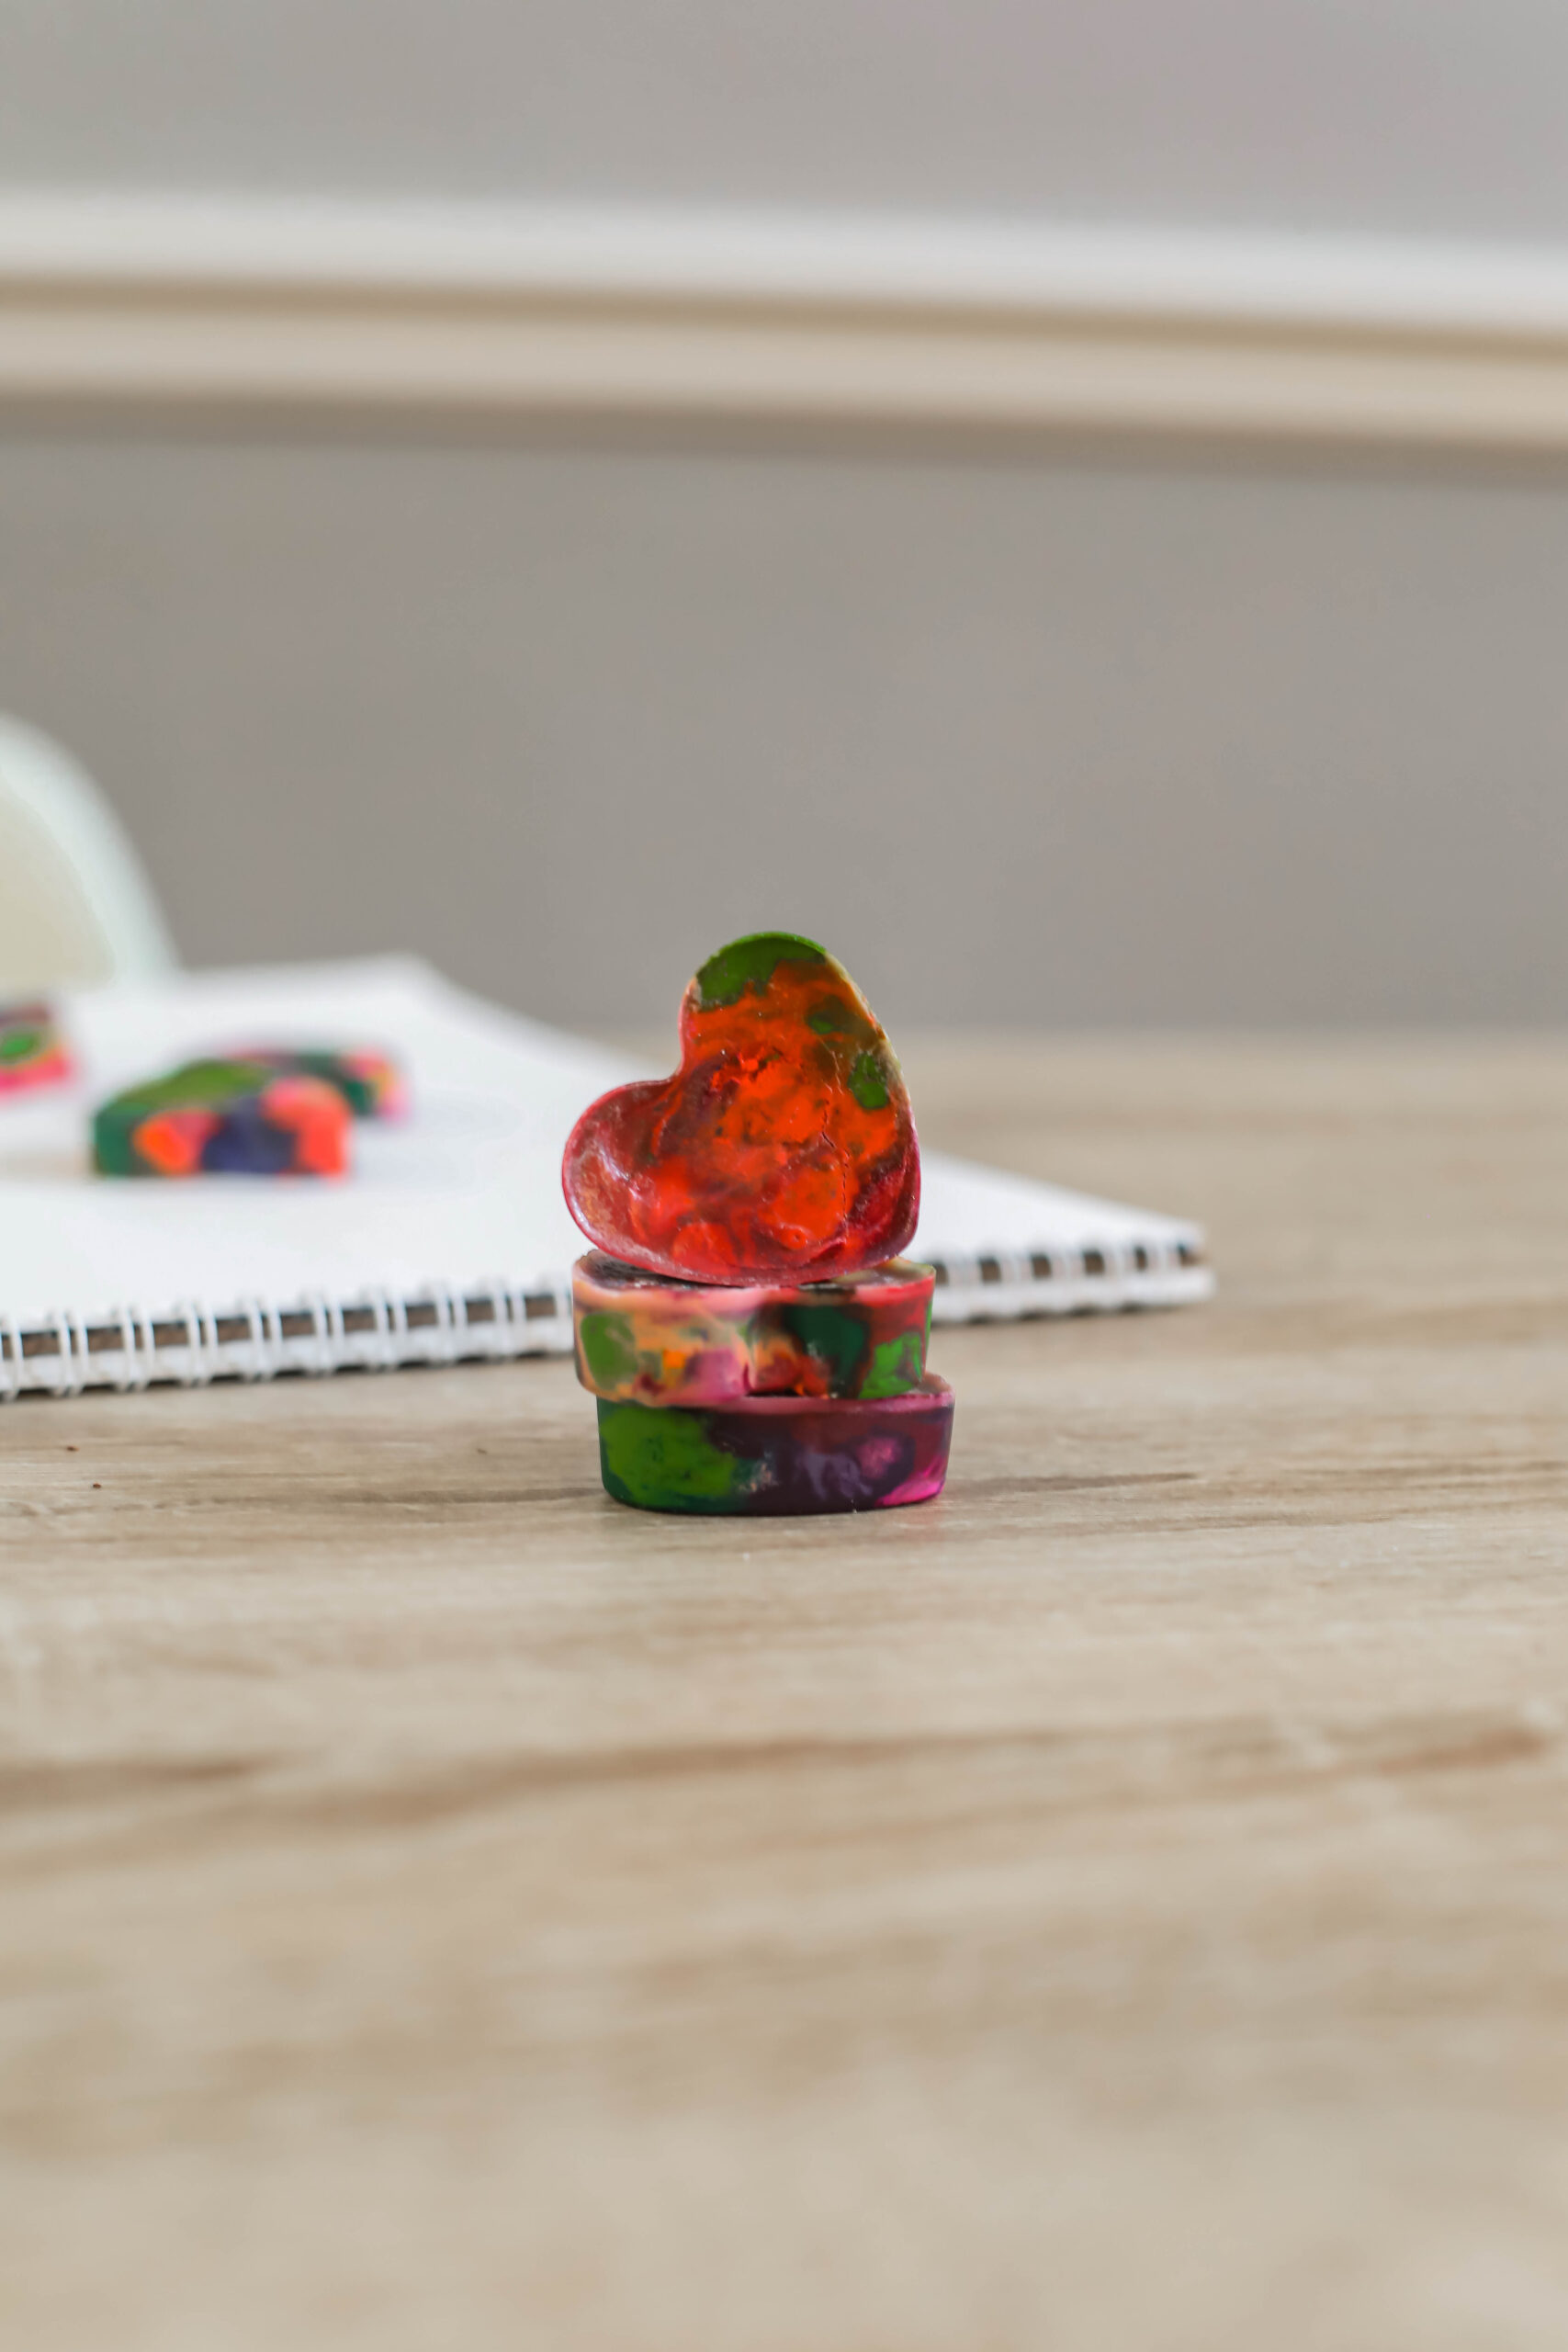
Old Crayons, Dish Soap, candy mold in the shape of your choice (we used this heart tray)
Directions:
Preheat oven to 275 degrees.
- Remove labels: THIS will change your life. There is zero need to slowly scrape the labels off your crayons. Straight from the horse’s mouth…..this is the advice Crayola gives: soak your crayons in a bowl of warm, soapy water. I doubted. I filled a bowl with lukewarm water and dishsoap and dropped the crayons in. Seven minutes later? The labels came right off. Some came off in the water, and the rest? Whole label came off when I pulled it. Taaadaaa! Ready for the next step.
- Break Crayons: If you want rainbow crayons with combined colors that mix well, then…..you need to break them apart so that you can combine colors in each mold section. Our favorite two methods of breaking crayons? We put our crayons inside ziploc bags (layer three of them because they will split and you don’t want broken crayons all over the place). We went outside, and jumped on the bag. A LOT. And it broke them down. You can also smash the bag with a hammer or roll over it with a rolling pin. Spoiler: jumping is the most fun!
- Fill Mold: Fill your mold with a mix of crayon fragments and a variety of colors. You can fill the entire cavity. This is not baking, the crayons will melt down…..they won’t rise like batter. This is a super fun and easy fine motor activity for your children, and something that they can probably do independently. Yup, you get a few minutes to relax.
- Bake: Insert the filled mold into the oven and bake until crayons are completely melted. For us? This took about 15 minutes.
- Cool and Pop Out: Now, beware. Melted crayon can spill, and it’s not fun to clean up. For me? I turn the oven off, and let it completely cool. After about thirty minutes, then I remove the candy mold and let it cool the rest of the way on the counter. Once the rainbow crayons are totally cooled, they will be super easy to pop out of the mold.
Have you made rainbow crayons? What tips do you have?